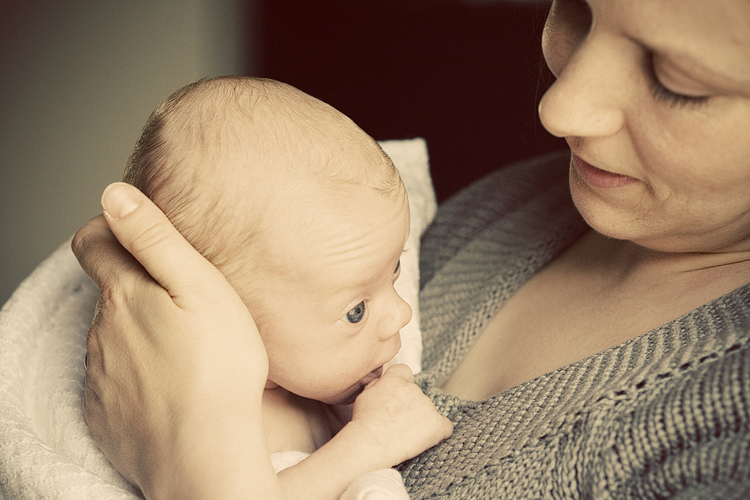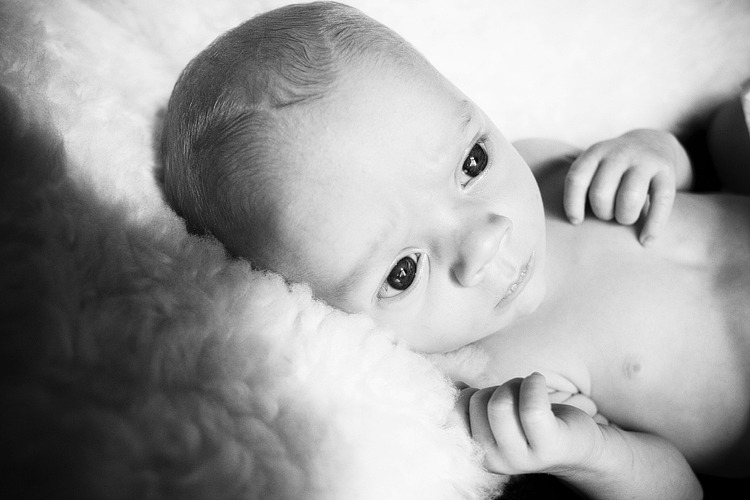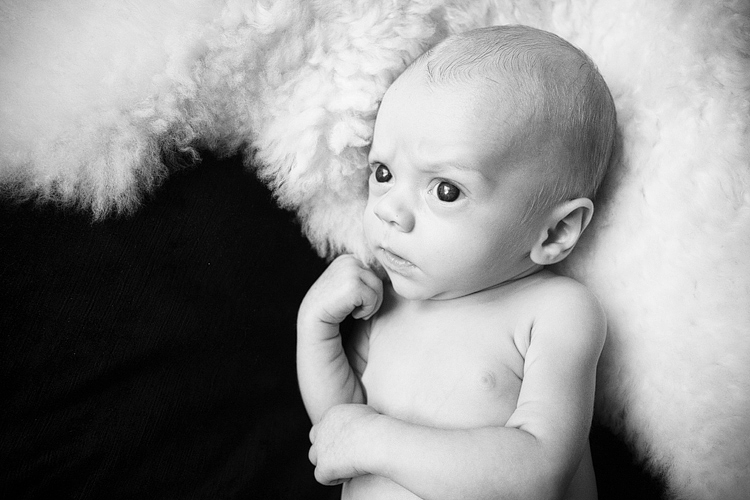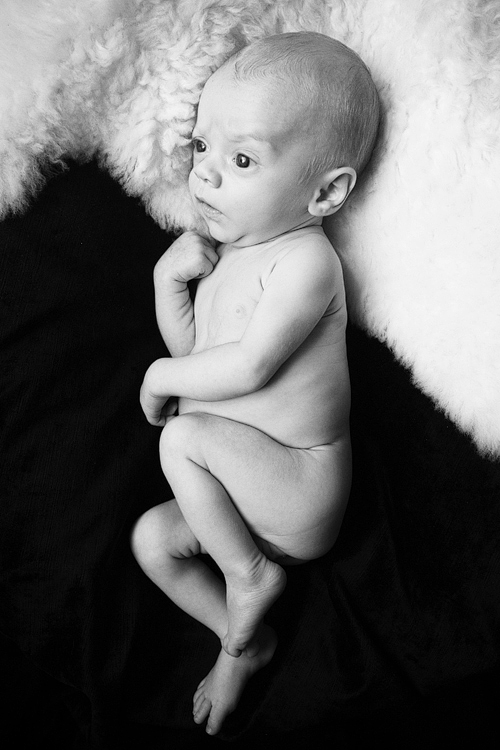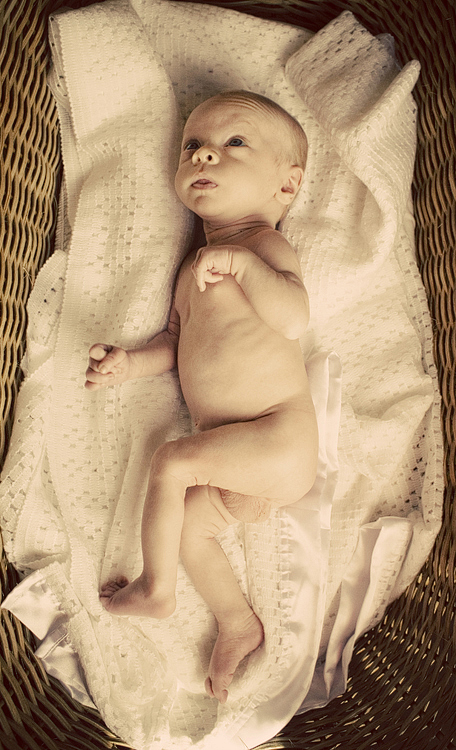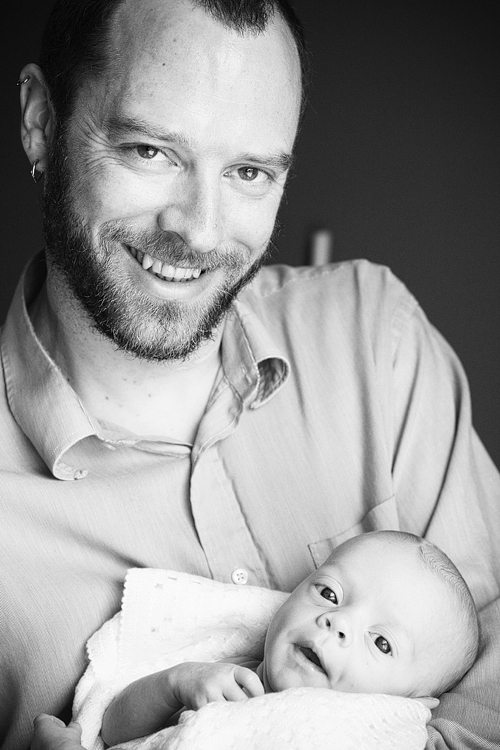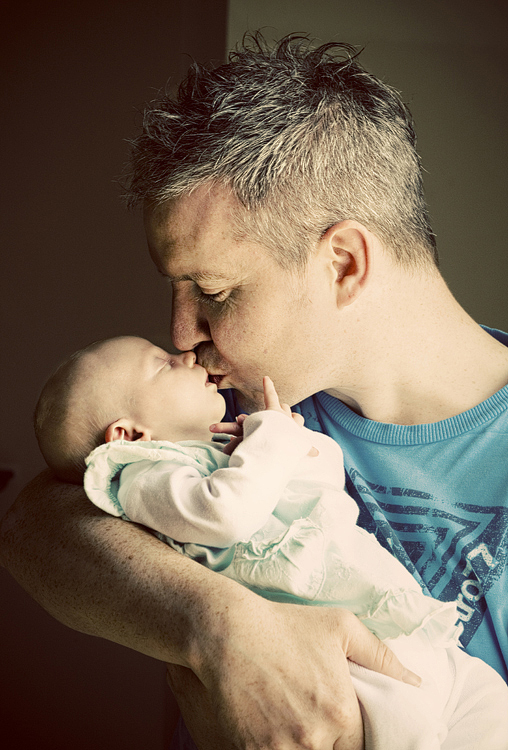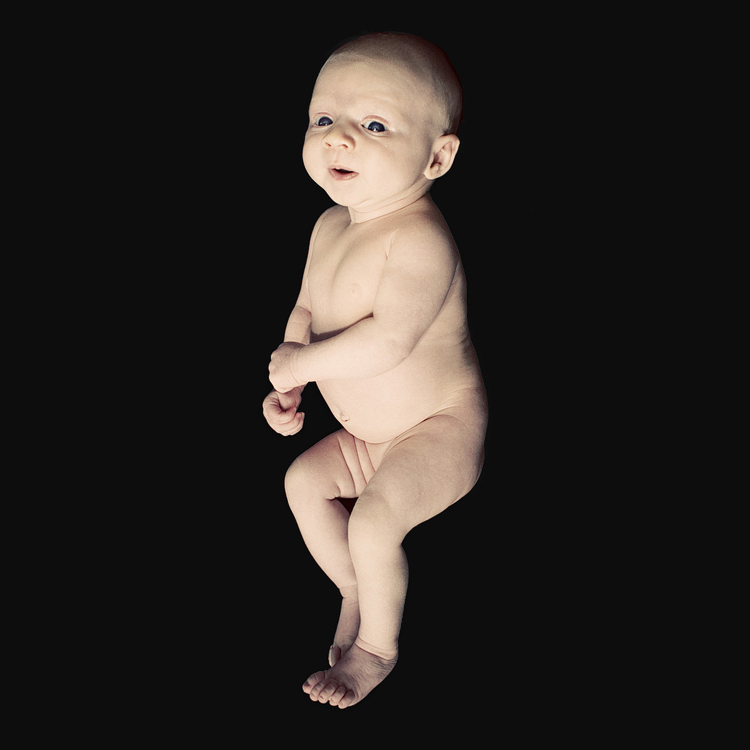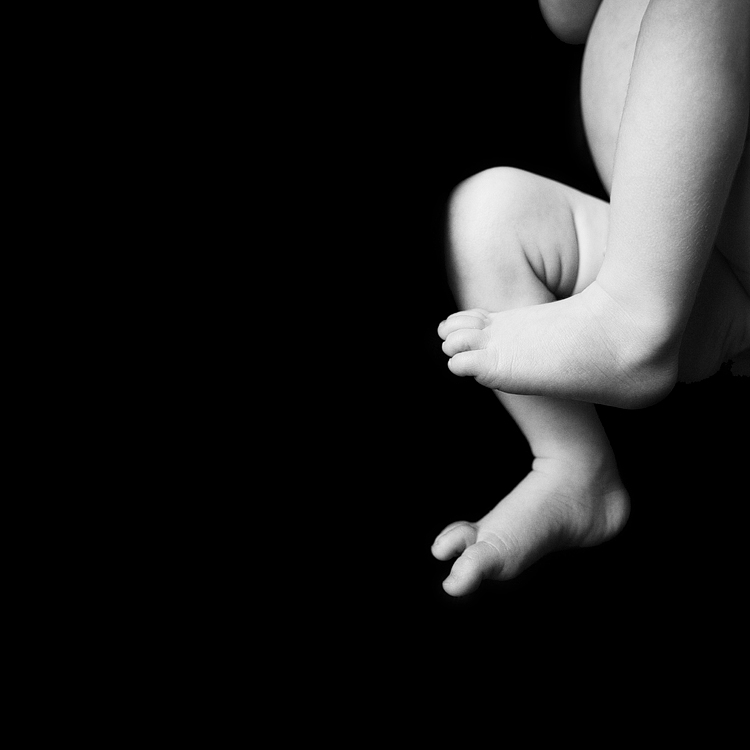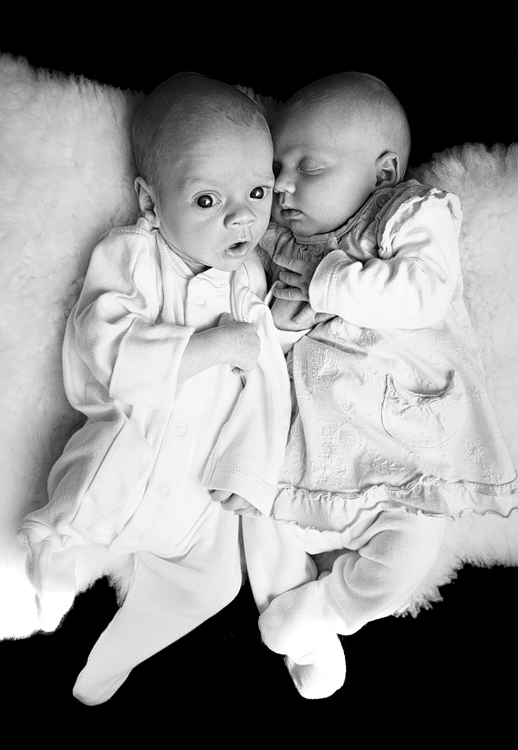
Canon 5D, 28mm, f10, 1/80, ISO 800
Happy Friday everyone and a round of applause for my fabulous models for the week and a big thank you to their parents for allowing me to share their photographs. If you know of anyone who’s expecting a baby in the near future who might like to have some photographs taken by me please point them my direction or get them to drop me an email and I’ll send them back my details and prices. I have a blog redesign in the works which will include this information very soon.
I thought it might be useful to pass on a few things I’ve learned from photographing these tiny ones. When Eve was born my camera was brand new and I had no idea how to make it work. As a result I have hundreds and hundreds of dark, blurry photos of her in those first few weeks. I should dig them out and post a couple for a laugh. I knew at the time that she was changing so fast and I wanted to try and capture some of those little details so I would remember them. How she used to yawn in that lob-sided way newborns do; just how small her fingernails were; how her lips would form a perfect “o” as if she was permanently surprised; how I could hold her on my shoulder and she would fit perfectly against me, so tiny her legs didn’t reach past my chest. Unfortunately my photography skills weren’t exactly up to the task. I think that’s what spurred me on to learn and improve and that’s why I keep trying to get better. All so I can bottle Eve up and keep her for me at each different stage.
So, here’s what I would have liked to have known three and a half years ago:
1. Start taking the photographs as early as possible. The first week is perfect. They sleep so much and are so bendy! Plus it’s not long after the first week that they start to unfurl out of that curled up newborn stage.
2. Newborns photograph best au natural. Cute little outfits are great but too many clothes can swamp them and date the photo.
3. Have the room nice and toasty so they’re comfortable without clothes. Dress lightly because you’ll be sweltering as a result.
4. Don’t use flash…it’s ugly 😛
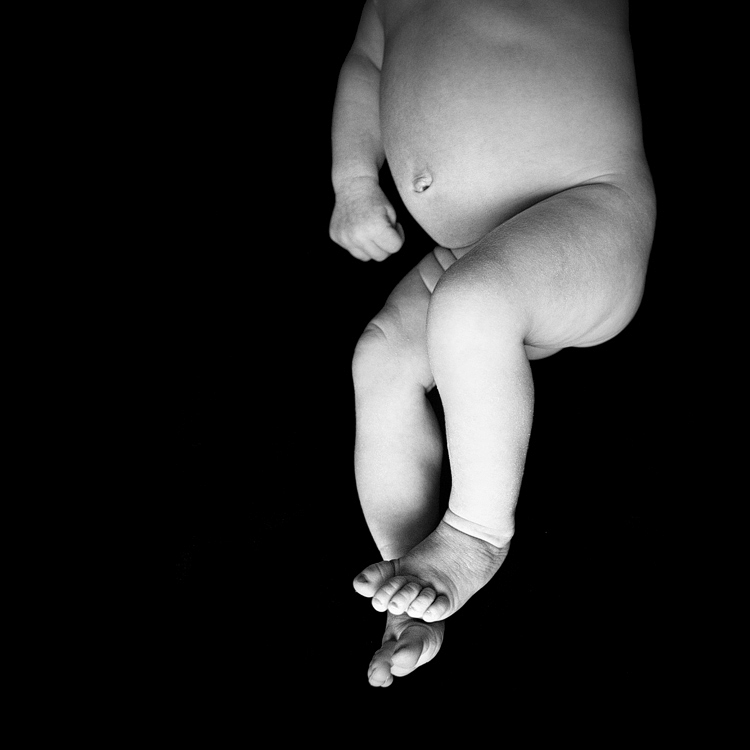
5. Recipe for a black background:
– one large window
– one soft beanbag
– large piece of non-reflective fabric (I use velvet but have plans to play around with different colours and textures in future to mix it up)
– slightly wide-angle lens (I use my 28mm but a 50mm would be good too and a macro for the close ups. If you’re using anything more than a 50mm and you don’t have macro on it, you’ll need a step-ladder)
Drape the fabric over the beanbag underneath a large window (pull it away from the window slightly so the light just starts to fall off) and put the baby in the centre. Take photos from all angles including straight above using the window light as a kind of soft box. Try and position the baby so their face is towards the window and their eyes aren’t in shadow (Use the rooting reflex to get them to look in the direction you want). Look for catchlights. Get rid of any folds or gaps in the black using Photoshop >:)
6. There will be little accidents…no nappy + black velvet = expect a visit to the dry cleaners!
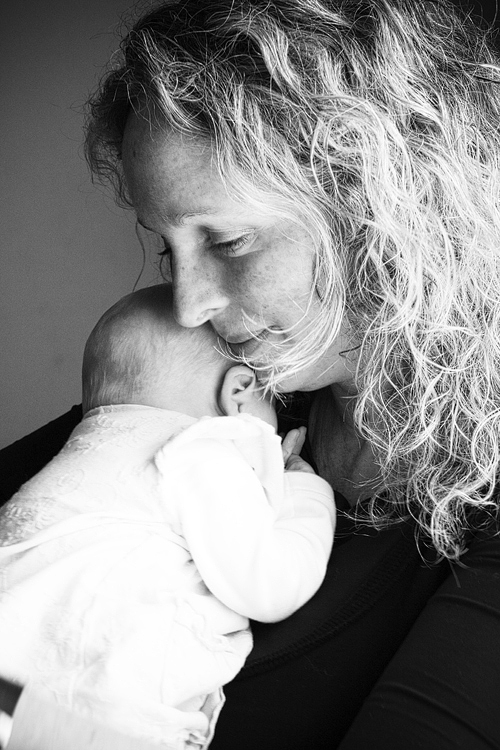
7. Get the details…little toes, little fingers, little ears, little lips. Get as close as you can.
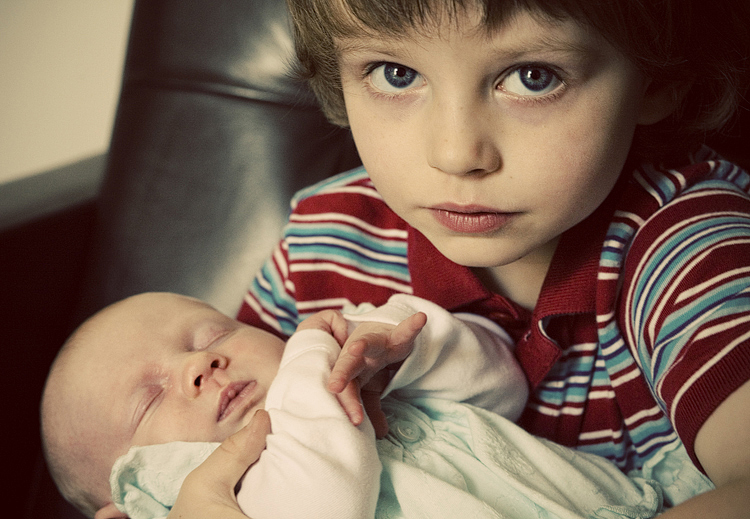
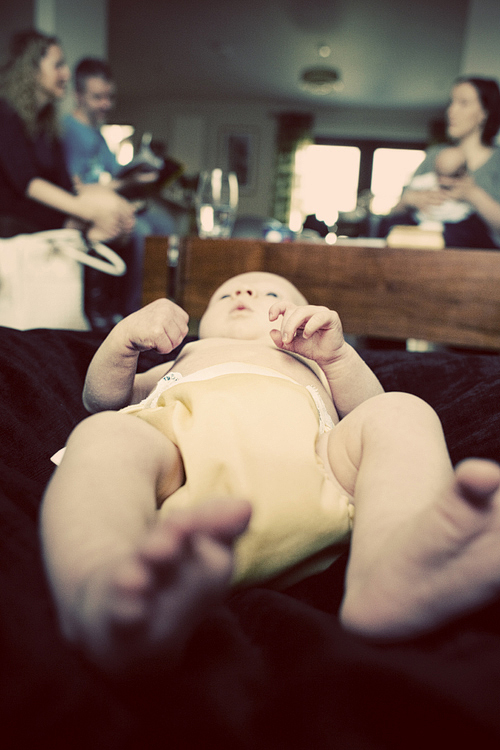
8. Go wide. Use furniture or other people or parts of other people like their hands to give a sense of scale and convey just how tiny a newborn is. This is one of the first things that you forget…they’re sooo small!
9. Be ready to take lots of breaks but when things are going well don’t dawdle, keep changing things up and moving and getting new angles.
10. Give the baby lots of smiles and happy noises. Don’t wait for them to do something specific, they may be asleep, they may be awake, they may be happy, they may not. Don’t worry…with newborns it’s all cute.
